 |
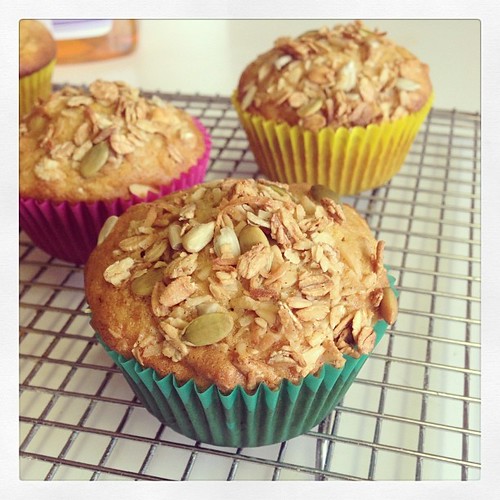
| Granola topped Carrot Cake |
I thought for this recipe remix that I would combine two of my loves; carrot cake and granola! It also turned out that I had some granola that I made during the week left over so it worked out perfectly. These little cakes are moist, crunchy on top and super delicious!
The original carrot cake recipe can be found
here. However for this recipe, I swapped the olive oil for macadamia oil. It has given it a lovely nutty flavour and I would highly recommend it. Just to recap, here are the ingredients that you will need!
Ingredients for carrot cake:
3 good sized carrots grated (you want about a cup of carrot)
1/2 cup of olive oil - I used macadamia oil
3/4 cup of light brown sugar
1 cup of self raising flour
1/4 cup of chopped walnuts (you can add extra if you like the crunch!)
2 eggs
1/2 teaspoon of allspice or to taste
*************
Mix the sugar, eggs and oil together (I did this on a low setting in the kitchenaid mixer)
Add carrot and flour and mix again.
Stir through walnuts.
Add mixture to 12 muffin tin, that has been prepared with paper cases.
Sprinkle granola on top.
Cook at about 170-180 degrees celsius for approx 20 minutes.
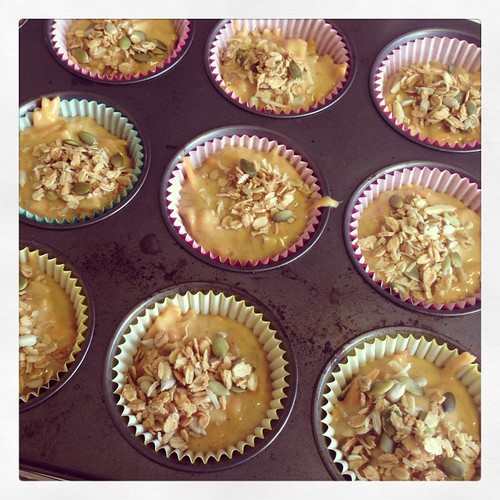 |
| Here they are just before going in the oven! |
For the
granola recipe, you can find one of my basic granola recipes
here. If you are anything like me, you generally make granola each week and have it on hand! You could also use a bought granola too. These didn't last long in our house! They are moist and not too sweet - they definitely hit the spot if you are craving cake.
Enjoy!!!